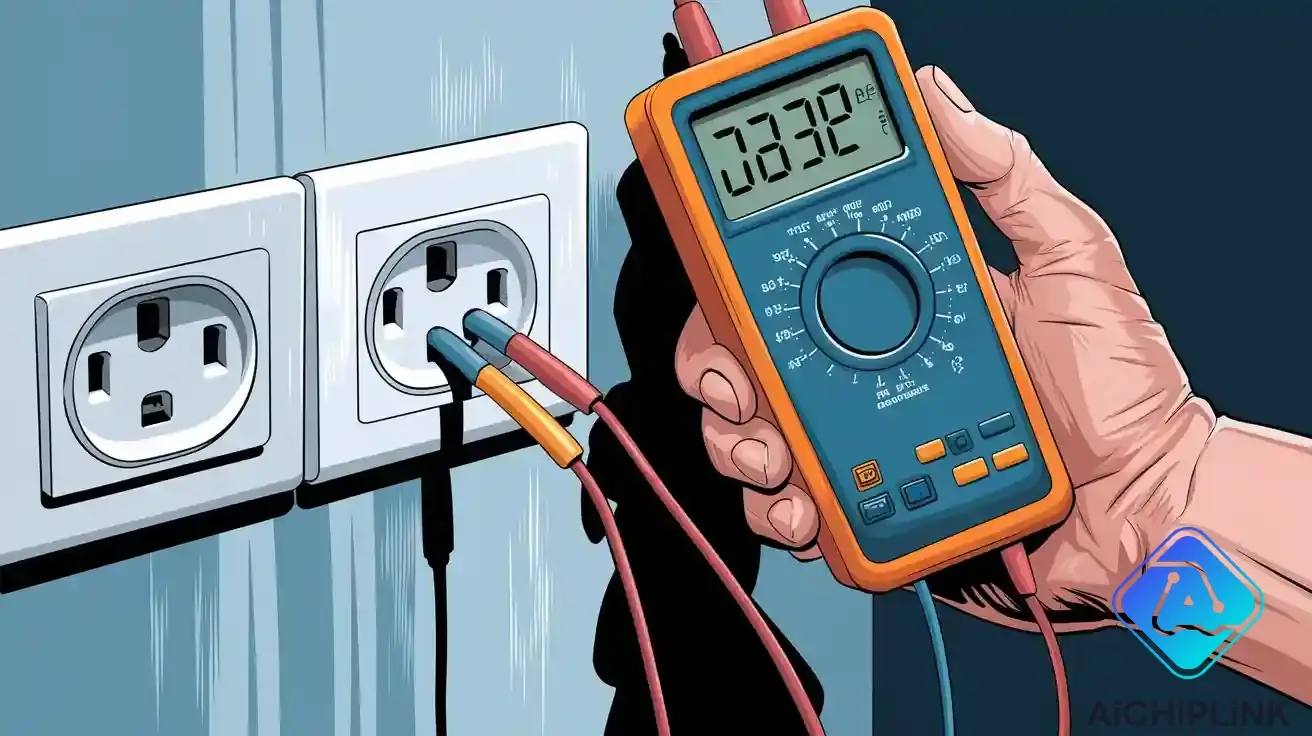
You can check outlets at home with a multimeter by following easy steps. First, turn your multimeter to the right AC voltage range. Put the probes into the outlet slots and make sure they are secure. Always think about safety when you use a multimeter. Many new users forget to set the multimeter to zero or pick the right range. This can cause mistakes or even break the tool. Never try to measure voltage in a live circuit without being safe. The multimeter lets you check voltage, ground, and polarity when you test outlets.
Key Takeaways
-
Safety comes first when you test outlets. Wear shoes with rubber soles. Keep your hands dry. Use gloves that protect you from electricity.
-
Set your multimeter to AC voltage before you start. This helps you get the right numbers. It also keeps your tool safe.
-
Learn about the outlet slots. The small slot is live. The big slot is neutral. The round hole is ground. This helps you test the outlet the right way.
-
If you see sparks or smell burning, stop right away. Call an expert to help you. Staying safe matters more than finishing the job.
-
Test your outlets often, especially in old houses. This helps you find problems early. It keeps your electrical system safe.
Safety First
You must always think about safety before you test any outlet with a multimeter. Electricity can cause serious harm if you do not follow the right steps. You protect yourself and your home when you use the correct gear and know when to ask for help.
Safety Gear
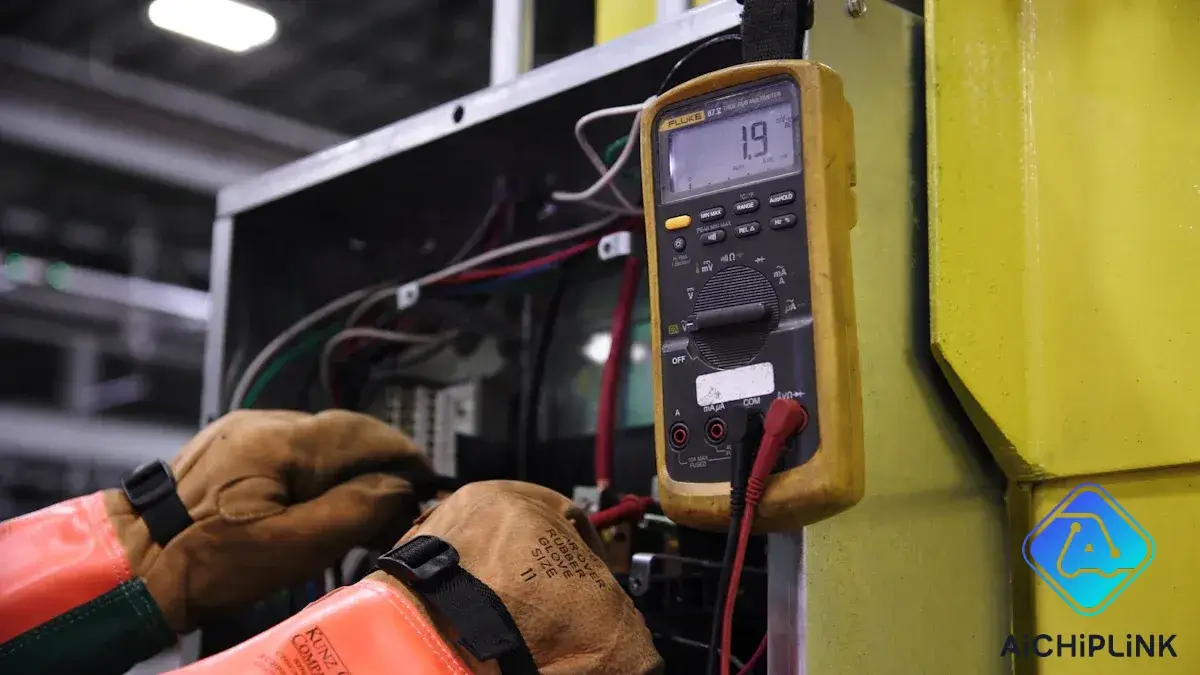
You need to wear the right gear every time you work with electrical outlets. Rubber-soled shoes help keep you grounded. Dry hands lower your risk of shock. You should use insulated gloves if you have them. Make sure your multimeter is rated for the circuit you want to test. The National Fire Protection Association (NFPA 70E) says only qualified people should use test equipment on systems with 50 volts or more. You must check your multimeter for cracks or damage before you start. You should never use a broken tool.
Tip: Always stand on a dry surface and keep water away from your work area. Water increases the risk of electric shock.
-
Wear rubber-soled shoes
-
Keep hands dry
-
Use insulated gloves
-
Inspect your multimeter for damage
-
Make sure your multimeter matches the outlet rating
When to Call a Pro
You should call a professional if you feel unsure about any step. Electricians know how to handle dangerous situations. If you see sparks, smell burning, or find damaged wires, you must stop and get help. You should not test outlets in wet areas or near water. The NFPA 70E says you must show you can select, inspect, and use your test equipment before you work with high-voltage systems. If you do not feel confident, you should let a qualified person do the job. Your safety matters more than finishing the task yourself.
Note: Never ignore warning signs like buzzing sounds or flickering lights. These can mean serious problems.
You keep your home safe when you know your limits and ask for help when needed. Safety always comes first.
How to Use a Multimeter
Setting Up the Multimeter
You must learn how to use a multimeter first. Check if your multimeter works and is not broken. Stand on something dry that does not let electricity pass. Wear your safety gear before you start. If you feel unsure, turn off the power to the outlet. Set your multimeter to the right mode. Most outlets use AC voltage, so turn the dial to AC. Make sure the probes are clean and attached tightly.
Here are the main steps for using a multimeter to test an outlet safely:
-
Find the three slots in the outlet. Look for live, neutral, and ground.
-
Get your multimeter ready. Make sure it works and set it to AC voltage.
-
Stand on a safe surface and wear your safety gear.
-
Put the probes into the outlet slots to test voltage.
-
Use the multimeter to check if the terminals connect.
-
Measure resistance to see if the ground is good.
Tip: Always check the dial before you use the multimeter. The wrong setting can give you the wrong numbers.
Understanding Multimeter Settings
A multimeter has many settings. You need to know what each one does. The main ones are voltage (V), current (A), and resistance (Ω). For testing outlets, use the AC voltage setting. Some multimeters have extra things like continuity and diode tests.
You can pick between analog and digital multimeters. Analog ones have a needle pointer. Digital ones show numbers on a screen. Digital multimeters are more exact and have more features. Pick a model that fits what you need. Here is a table of good multimeters for home use:
| Model | Description |
|---|---|
| Greenlee DM-45 | Best Overall: 4,000-Count 600V Digital Multimeter |
| Extech EX330 | Runner-Up: 12-Function Mini Multimeter |
| Klein Tools MM400 | Best Bang for the Buck: Auto-Ranging Digital Multimeter |
| Fluke 107 | Best for Basic DIY: Pocket Digital Multimeter |
| Gardner Bender GMT-318 | Best Analog: 6-Function Analog Multimeter |
You get better at using a multimeter by practicing. Try switching between AC and DC voltage to see the difference. Always use the AC voltage setting for outlets. Digital multimeters are easier to read. Analog ones are good for changing values, but most people use digital at home.
Note: If you are new to multimeters, start with a basic digital model. These are easier to use and safer for beginners.
Test Outlets Step-by-Step
Identify Outlet Slots
Before you test outlets, you need to know which slot is which. Every standard outlet has three slots. Each one has a different job. Here is how you can identify them:
-
Look at the outlet. You will see two vertical slots and one round hole.
-
The smaller vertical slot is the live wire (hot terminal). This slot carries the voltage.
-
The larger vertical slot is the neutral wire (neutral terminal). This slot completes the circuit.
-
The round hole below is the ground wire (grounding terminal). This slot keeps you safe from electric shock.
-
Use a voltage tester if you have one. Insert it into each slot. If it lights up, you found the live wire. The neutral and ground slots should not light up.
Tip: Always double-check the slots before you start outlet testing. This step helps you avoid mistakes and keeps you safe.
Check Voltage
Now you are ready to test outlets for voltage. Set your multimeter to the AC voltage setting. Look for the symbol that looks like a tilde (~). Plug the black probe into the 'COM' port and the red probe into the 'V' port on your multimeter.
Follow these steps for testing voltage:
-
Insert the black probe into the neutral slot.
-
Insert the red probe into the live slot.
-
Read the number on the multimeter display.
You should see a voltage reading between 110 and 120 volts for a standard North American outlet. If you have a 240-volt outlet, the reading should be between 200 and 240 volts. Here is a quick reference table:
| Outlet Type | Expected Voltage Range |
|---|---|
| Standard Outlet | 110 to 120 volts |
| 240-Volt Outlet | 200 to 240 volts |
| Variations | 110 to 130 volts |
If your reading is much lower or higher, stop and check for problems. Incorrect readings can mean wiring issues or a faulty outlet.
Note: Always keep your hands dry and stand on a safe surface when you test outlets for voltage.
Test Ground
A good ground connection is important for safety. You can use your multimeter to check if the ground works right. Here is how you do it:
-
Make sure the power is on. Wear insulated gloves and check the outlet for damage.
-
Put the black probe into the ground slot.
-
Put the red probe into the live slot.
-
Look at the voltage reading. It should be close to the standard line voltage (about 120 volts).
-
Keep the black probe in the ground slot. Move the red probe to the neutral slot.
-
The voltage should be very low or close to zero.
If you see a high voltage between ground and neutral, the ground may not work right. Here is a table to help you understand your results:
| Measurement Type | Expected Voltage | Implication |
|---|---|---|
| Neutral-Ground | ~0 V | Indicates a potential issue with the neutral-ground connection. |
| Hot-Neutral | ~120 V | Normal reading; if reversed, hot-ground will show a few volts or less. |
| Hot-Ground | > Hot-Neutral | Should be the highest reading; if not, indicates a safety hazard. |
Callout: If you find a problem with the ground, stop using the outlet and call a professional. A bad ground can cause electric shock or fire.
Polarity Test
Polarity tells you if the wires connect to the right terminals. Wrong polarity can make appliances unsafe. You can use your multimeter to check polarity during outlet testing.
Follow these steps:
-
Set your multimeter to AC voltage mode. Look for the tilde (~) symbol.
-
Put the black probe into the common (COM) socket. Put the red probe into the Volt + Ohm socket.
-
Touch the black probe to the neutral slot and the red probe to the live slot.
-
If the reading is positive and matches the expected voltage, the polarity is correct.
-
If the reading is negative, reverse the probes and test again.
If you find reversed polarity, you need to fix it. Here are some dangers of reversed polarity:
-
Reversed polarity creates shock hazards for users.
-
Appliances may malfunction or overheat.
-
The risk of electrical fires increases.
-
Device casings may stay energized, which can shock you.
-
Circuit breakers may not trip, leaving dangerous voltage in the outlet.
Alert: Always fix reversed polarity right away. It can cause serious harm to you and your home.
When you test outlets, always check your probe placement. Mixing up the leads or setting the rotary switch wrong are common errors. Here is a table to help you avoid mistakes:
| Common Error | Description |
|---|---|
| Mixing leads | One of the most frequent mistakes when using a multitester. |
| Wrong rotary switch position | Having the rotary switch in the incorrect position for the test being performed. |
Take your time with each step. Careful outlet testing with a multimeter keeps your home safe and your appliances working right.
Troubleshooting and Results
Reading the Display
When you use a multimeter to test an outlet, you need to know what the screen means. A normal number for a standard outlet is between 110 and 125 volts AC. If you see this number, your outlet is working right. Sometimes, the multimeter shows a '1' or says overload. This means the range is set too low. Change the setting and try again. Always put one probe in the ground and one in the live slot. If you are testing a battery, pick the right voltage range. For AC outlets, use the AC setting.
Do not touch wires that have power during testing. If you are not sure about the voltage, change the settings slowly. Always turn off the power before you test for resistance or continuity. When you check for continuity, look for a steady number. If the number jumps or stays at zero, there could be a wiring problem. Bad test leads can give you wrong numbers. Make sure your test leads fit well and are safe to use.
Tip: If your multimeter gives strange numbers, check neutral-ground and hot-ground voltages. This can help you find wires that are switched.
Common Problems
You might find different problems when you test outlets with a multimeter. Loose wires can make power come and go and may cause fires. Bad wiring can shock you or make outlets stop working. Circuit breakers that trip are a common reason for no voltage. Old outlets can make plugs loose and may start fires. GFCIs can trip for no reason or stop working after a while.
If your outlet has no voltage, try these steps:
-
Stay safe. Wear safety gear and check your tools.
-
Look for damage like cracks or loose wires.
-
Use a voltage tester to see if the outlet has power.
-
If there is no voltage, test the wiring for continuity.
-
Check the ground to make sure the outlet is safe.
-
Tighten any loose wires you find.
-
Put the outlet back together and test it again.
Strange numbers can happen if your test leads are bad or do not fit right. Different metals in the leads can also cause problems, especially when testing resistance. Always make sure your multimeter and leads are safe for the voltage you are testing. Follow IEC61010 rules for electrical tests.
| Problem | What You See on Multimeter | What to Do |
|---|---|---|
| Loose connections | Fluctuating reading | Tighten connections |
| Faulty wiring | No reading | Inspect and repair wiring |
| Tripped breaker | Zero reading | Reset breaker |
| Worn outlet | Unstable reading | Replace outlet |
| Bad test leads | Inaccurate reading | Use proper leads |
Alert: If you cannot fix the problem or do not feel safe, call a professional electrician.
Using a multimeter to test outlets helps keep your home safe. It also lets you find problems before they get worse. First, set your multimeter. Next, put the probes in the right spots. Then, look at the numbers on the screen. Always check your results again and follow all safety steps.
Experts say you should test outlets once a year. This is very important in old houses or busy rooms. Testing often gives you many good things:
-
Better electrical safety
-
More reliable power
-
Following the rules
-
Saving money
If you find a problem, do these things:
-
Look at the circuit breaker or fuse box.
-
Check the wires and connections at the outlet.
-
Reset or change GFCI outlets if you need to.
-
If you see sparks or smell burning, turn off the power and call an electrician.
Tip: Make sure you know how to use your multimeter. Always turn off the main switch before you start. Safety is the most important thing!

Written by Jack Elliott from AIChipLink.
AIChipLink, one of the fastest-growing global independent electronic components distributors in the world, offers millions of products from thousands of manufacturers, and many of our in-stock parts is available to ship same day.
We mainly source and distribute integrated circuit (IC) products of brands such as Broadcom, Microchip, Texas Instruments, Infineon, NXP, Analog Devices, Qualcomm, Intel, etc., which are widely used in communication & network, telecom, industrial control, new energy and automotive electronics.
Empowered by AI, Linked to the Future. Get started on AIChipLink.com and submit your RFQ online today!
Frequently Asked Questions
How often should you test your electrical outlets?
Test your electrical outlets once every year. Regular testing helps you find problems early. If lights flicker or you smell something odd, test the outlet right away. Keeping your electrical system safe protects your home and family.
Can you test electrical outlets without a multimeter?
You can use a plug-in electrical tester for simple checks. These testers show if the outlet works. They do not measure voltage or check the ground. A multimeter gives you more information about your electrical system. For full safety, use a multimeter.
What does it mean if your electrical outlet shows no voltage?
If your outlet shows no voltage, you might have a tripped breaker, loose wire, or a bad outlet. Check your electrical panel first. If you cannot find the problem, call an electrical professional. Never ignore electrical problems because they can cause fires.
Is it safe to test electrical outlets yourself?
You can test outlets safely if you follow all steps. Wear safety gear and use a working multimeter. Stand on a dry surface. If you feel unsure, call an electrical expert. Never test outlets in wet areas or near water.
Why does your electrical outlet spark when you plug something in?
Sparks from an outlet mean something is wrong. You may have loose wires, worn contacts, or a broken device. Unplug everything and stop using the outlet. Call an electrical technician for help. Sparks can cause fires or electric shocks. Tip: Always treat sparks as a warning sign. Quick action keeps your electrical system safe.