Ultimate Guide to KVM Switches: 5 Tips for Your Setup
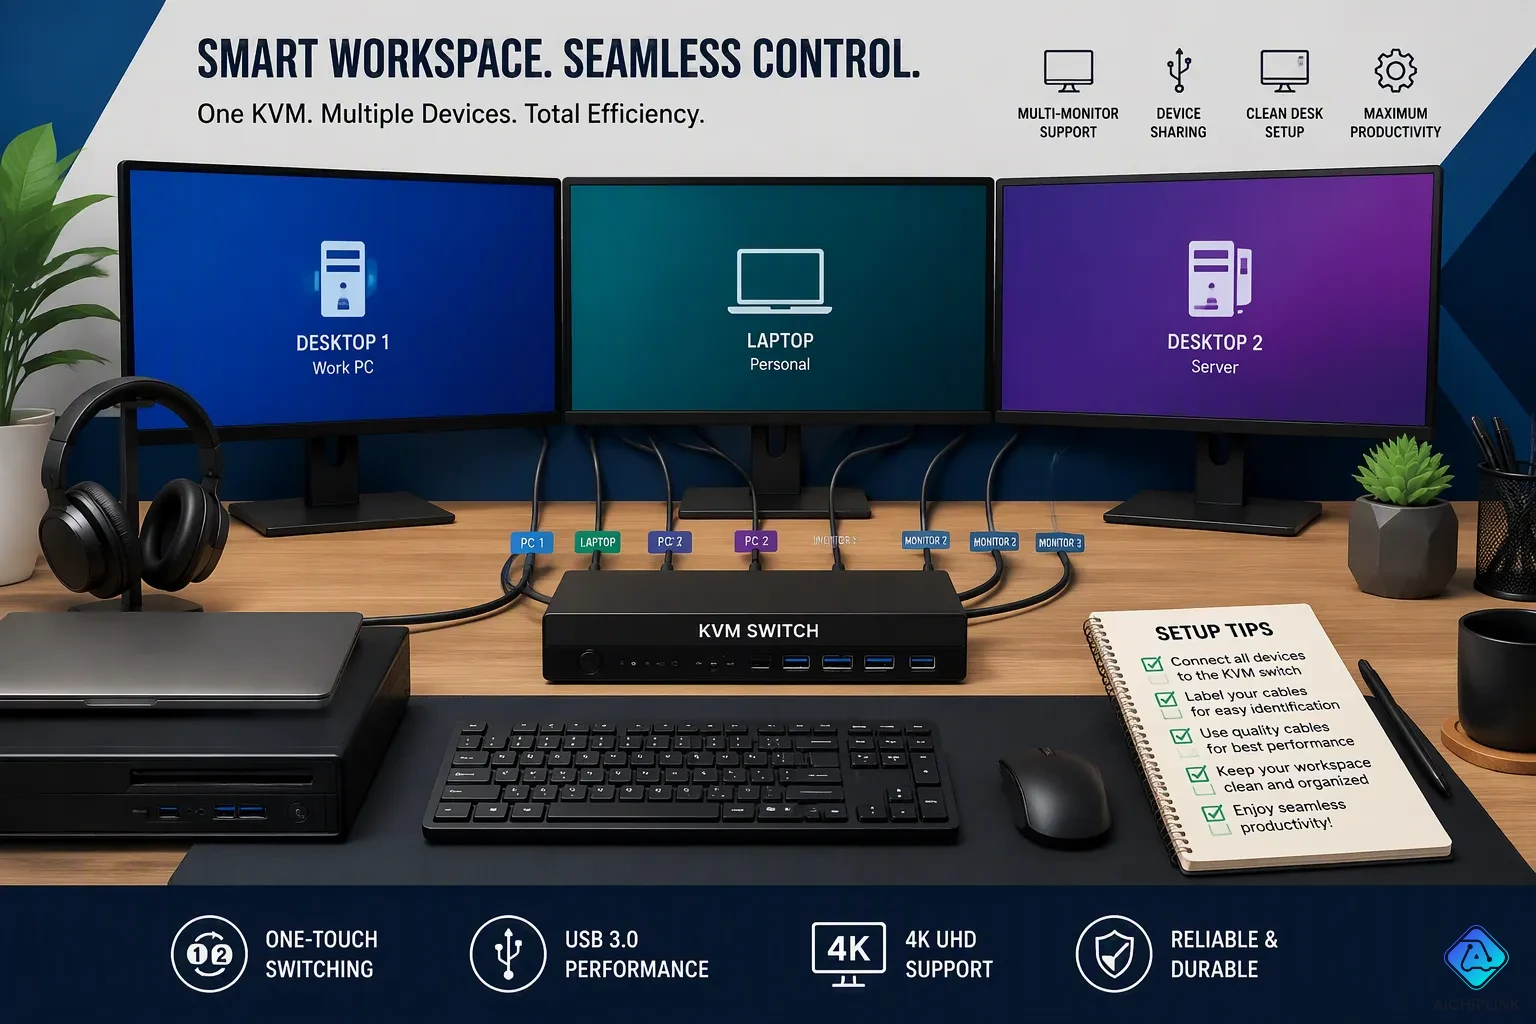
Choosing the right KVM switch starts with knowing your own setup. The number of computers, monitors, and the screen quality you want will affect which model you need. A wrong match can cause compatibility problems and bad signal strength. The KVM market shows this complexity. According to Zion Market Research, the global KVM switches market reached $715.6 million in 2024. Experts predict steady growth at a 5.8% compound annual rate through 2034.
| Year | Market Size (USD) |
|---|---|
| 2025 | 773.51 million |
| 2026 | 820.85 million |
| 2034 | 1,240.19 million |
This growth means more options, but also more confusion. You must think about cable length, USB needs, and future upgrades before you buy. A careful plan helps you avoid wasting money and having to return items. Your home setup deserves a solution that works well now and can change later. This ultimate guide to KVM switches gives you simple steps for that choice.
Key Takeaways
-
Count your computers and monitors before choosing a KVM switch.
-
Match your video resolution and refresh rate to the KVM switch's capabilities.
-
List all USB devices and their bandwidth needs to pick the right ports.
-
Select active cables for long distances to avoid signal loss.
-
Choose a KVM switch with EDID emulation for smooth switching.
Tip 1: Ultimate Guide to KVM Switches – Port Count and Computer Types
Determine Number of Computers and Monitors
Start your kvm switch selection by counting your devices. Take inventory of every computer you plan to connect. Include desktop PCs, laptops, and workstations. Most people need a kvm for two computers, but some need three or four. Your count determines the port number you need.
Next, count your monitors. A single-monitor setup works with a basic 2-port kvm switch. A multi monitor arrangement requires a more advanced model. Dual-screen users need a kvm that supports at least two video outputs per computer. Triple-monitor setups demand even more bandwidth and ports.
Consider your desk space too. A compact kvm switch fits neatly beside your keyboard. Larger models with more ports take up more room. Measure your available space before purchasing. This simple step prevents frustration later.
Your home setup might change over time. You may add a new laptop or upgrade your desktop. Buying a kvm with one extra port gives you room to grow. This approach costs slightly more now but saves money later.
Check Video Port Compatibility (USB-C, DisplayPort, HDMI)
Video ports vary between computers and monitors. Your kvm switch must match these connections. Check every port on your devices before ordering. This step prevents compatibility headaches.
USB-C ports present the biggest challenge. Some USB-C ports do not support DP Alt Mode. This means they cannot transmit video signals. Look for the DP Alt Mode symbol on your port. A lightning bolt indicates Thunderbolt support. A DP logo shows DisplayPort compatibility. Without these symbols, your USB-C port may only handle data and power.
DisplayPort connections work well with most kvm switches. However, adapters create confusion. DP to HDMI adapters only work in one direction. You cannot reverse them. Always verify your adapter converts DP to HDMI, not the opposite way.
Mini DisplayPort connections need special attention. These ports often require active adapters. Passive adapters fail in many cases. An active Mini DisplayPort to HDMI adapter converts the signal properly. This ensures your monitor receives a clean video feed.
The table below summarizes common video port issues and solutions.
| Port Type | Common Compatibility Issue | Solution |
|---|---|---|
| USB-C | Some USB-C ports do not support DP Alt Mode, preventing video output to the KVM switch | Check manufacturer specs or look for DP Alt Mode symbol (lightning bolt for Thunderbolt, or DP logo) on the port; not all labeled ports support video output |
| DisplayPort | DP to HDMI adapters are directional and only work one way (DP to HDMI) | Ensure the adapter is converting DP to HDMI, not the reverse direction |
| Mini DisplayPort | Mini DP connections often require active adapters to convert to HDMI or other outputs | Use an active Mini DisplayPort to HDMI adapter; passive adapters will not work in many cases |
Match your kvm switch ports to your actual devices. This ultimate guide to kvm switches emphasizes checking compatibility first. A mismatch means wasted money and delayed work. Take photos of your ports and compare them with product specifications. This simple habit prevents most purchasing errors.
Tip 2: Verify KVM Switch Video Resolution and Refresh Rate
Support for 4K, HDR, and VRR
Your monitor needs a certain resolution and refresh rate. You must match those numbers to your kvm switch. A simple 4K label does not tell you everything. The bandwidth needs change a lot between modes. For example, 4K at 60Hz needs less bandwidth than 4K at 144Hz with HDR. You need a kvm switch with HDMI 2.1 or DisplayPort 1.4-class connections. These standards carry the high bandwidth for tough modes like 4K@120Hz HDR.
The whole signal path must meet the bandwidth demand. This path includes your GPU output, cable, kvm input and output, monitor port, and any adapters. A weak link anywhere lowers resolution and performance. You must check the exact mode you want. For example, 1440p 240Hz has different bandwidth needs than 4K 144Hz. Your kvm switch must confirm support for HDR, VRR/adaptive sync, and HDCP. This extra protocol support keeps your games and movies looking right. This ultimate guide to kvm switches stresses checking every detail before you buy.
Check Single or Multi-Monitor Capabilities
A single monitor setup is easier. You need one video output from your kvm switch to your monitor. Most basic models handle this well. A multi monitor setup needs more careful planning. You need a kvm switch with multiple video outputs per computer. For example, a dual monitor setup needs two outputs per device. A triple monitor setup needs three. Each output must support your desired resolution and refresh rate.
The kvm switch must split the bandwidth correctly. It cannot share the same bandwidth across all outputs in a way that lowers quality. You must check the specs for each video port. Some models drop the refresh rate when you connect multiple monitors. This hurts performance for gaming or video work. Think about your monitor count now. Your setup might change later. Choose a kvm switch that supports one more monitor than you need. This gives you room to grow without buying a new device.
Tip 3: Assess USB Needs for Your KVM Switch
Identify Required USB Ports and Audio Support
Your keyboard and mouse need their own special ports on the kvm switch. These ports keep your macro keys and custom button settings working. Plug both devices into these dedicated ports for best results. Do not use these ports for other gadgets.
Other USB devices need different care. Webcams, external drives, and headsets need USB 3.0 ports for faster data flow. These devices may disconnect during switching if you use slower ports. Check your kvm switch specs for USB 3.0 support before you buy.
| USB Peripheral Type | Bandwidth Requirement / Notes |
|---|---|
| Keyboard & Mouse (HID) | Low bandwidth; needs HID emulation to keep special keys and macros; must go in dedicated HID ports. |
| Webcam, USB Audio, External Storage | High bandwidth; use USB 3.0 ports to avoid dropouts during switching. |
| Video (DisplayPort 1.4) | 32.4 Gbps total bandwidth (25.92 Gbps effective via HBR3), supporting 4K up to 144Hz. |
| Future DisplayPort 2.1b | Up to 80 Gbps over UHBR20, needing hardware KVM signal paths to sustain. |
Audio support matters for your daily work. Some kvm switch models have a 3.5mm audio jack for headsets or speakers. Others send audio through the video connection. Check that your audio needs match the kvm switch features. Your monitor may have built-in speakers that get audio through HDMI or DisplayPort. This works fine for basic sound needs.
Consider Charging and Shared Peripherals
Your kvm switch may charge devices while you work. USB Power Delivery profiles differ between models. Some kvm switch units only support fixed power profiles. This limits devices that ask for specific charging speeds.
| Power Mode | Supported by KVM | Required by Steam Deck |
|---|---|---|
| 5V/3A (15W) | Yes | Yes (fallback) |
| 15V/3A (45W) | No | Yes (fast charge) |
| 20V/3A (60W) | Yes | No |
Think about this example. A Steam Deck asks for a 45W charging profile. Your kvm switch only supports 15W and 60W modes. The device drops to 15W charging. This causes slow charging or power drain during heavy use. Check the power delivery specs against your devices before buying.
Shared peripherals add another factor. You may want one printer or scanner usable from all computers. Most kvm switch models share USB devices across connected systems. This works well for occasional use. Avoid USB hubs until your setup is stable. Hubs lengthen the connection chain and split bandwidth across many devices. A hub feeding a webcam, headset, keyboard, and drive can cause performance problems.
Your ultimate guide to kvm switches checklist should include every USB device you own. List each peripheral and its bandwidth needs. Match those needs to the kvm switch ports. This planning prevents frustration after setup. Your keyboard and mouse will work perfectly. Your webcam and drives will keep stable connections. Your monitor will show clean video without interruptions.
Tip 4: Evaluate Cable Length for KVM Setup
Choose Active vs. Passive Cables
When you hook up your devices to a kvm switch, the cable type decides how far apart your gear can be. Passive cables send the signal without extra power. Active cables use a built-in chip to make the signal stronger over longer distances. Your kvm setup needs to pass the signal clearly. Your pick depends on your resolution, refresh rate, and how far apart your devices sit.
The distance limits for your kvm change with your video quality needs:
-
For 1080p office screens, passive copper cables work up to about 10-15 feet.
-
For 1440p high refresh rates, certified passive cables work best at 6-10 feet.
-
For 4K at 120Hz or 144Hz, certified short passive cables are limited to 3-6 feet.
-
For 4K high refresh over a long desk, active copper cables stretch the range to 15-30 feet.
-
For control rooms or long wall routes, fiber DisplayPort cables are needed for 30 feet and beyond.
HDMI cables follow a similar pattern for your kvm. Passive HDMI 2.1 cables reach about 9 feet before issues show up. Active fiber optic HDMI cables send 4K and 8K content over 10 to 30 meters without signal loss.
The table below shows max lengths for common cable types hooked to your kvm.
| Cable Type | Maximum Length (Passive) | Maximum Length (Active) |
|---|---|---|
| DisplayPort 1.4 | 1-3 meters (reliable for 4K at 120Hz) | 5-10 meters (keeps 4K resolution) |
| HDMI 2.1 | 3 meters (for 4K at 120Hz or 8K at 60Hz) | Recommended beyond 15 feet for 4K at 60Hz |
| HDMI 2.0 | 4.5 meters (for 1080p) | Not specified |
Plan Cable Runs to Avoid Signal Loss
Even with the right cable, bad routing can ruin your monitor signal. Electromagnetic interference from nearby devices causes static and dropouts. You must plan your cable path for your kvm switch with care.
Follow these steps for clean signal transmission:
-
Keep cables more than 1 foot away from fluorescent lights, power transformers, and motors.
-
Use shielded twisted-pair designs where they fit.
-
Ground the shield the right way to redirect electromagnetic energy.
-
Avoid tight bends, too much tension, and physical stress during setup.
-
Stick to the max length limits set by your cable standard.
Proper shielding cuts EMI by as much as 90 percent. Route cables away from strong EMI sources. Ground shields correctly. Avoid tight bends and too much tension.
Your kvm needs clean cables to work well. Check your desk layout before buying cables. Measure the distance between each monitor and your kvm switch. Choose active cables for runs longer than 10 feet. This stops signal loss.
Tip 5: Future-Proof Your KVM Setup with Scalability
Desk-Mount vs. Rack-Mount Options
Your choice between a desk-mount and a rack-mount kvm switch depends on your space and future needs. A desk-mount unit sits on your desk near your keyboard. It works well for a home office with two or three computers. A rack-mount unit fits into a server rack. This option suits larger setups that may grow over time.
Consider the ADDERView 4 PRO series if you need room to expand. This model supports up to 4 computers. Each computer can use single, dual, triple, or quad-head monitors. That means you can run up to four screens per computer. The ADDER CCS-PRO4 handles up to 4 computers with their monitors. The ADDER CCS-PRO8 extends that to 8 computers. These models show how a rack-mount kvm scales with your needs.
A rack tray console like the ADDERView RDX 1000 combines a kvm switch with keyboard, video, and mouse. This saves space in your rack. You get a complete control station in one unit. Plan for your future monitor count now. Choose a model that supports more computers than you currently own. This approach prevents a full replacement later.
Switching Preferences and EDID Emulation
Your switching method affects how fast you move between computers. Hotkey switching lets you press a key combination on your keyboard to change systems. This method keeps your hands on the keyboard. Button-based switching uses a physical button on the unit. Both methods work well. Choose the one that fits your workflow. Pick a reputable brand with good reviews. Reliable brands offer better support and firmware updates. This keeps your device working with new hardware over time.
EDID emulation matters more than most people realize. EDID stands for Extended Display Identification Data. Your display sends this data to your computer. It tells the computer the supported resolutions and refresh rates. When you switch between computers on a kvm, the display connection drops briefly. Without EDID emulation, the computer detects a lost display. It may reset the resolution or rearrange your windows. This problem becomes more common with a multi monitor setup.
A kvm with EDID emulation stores the monitor's display profile. It serves that profile to each connected computer. This prevents the operating system from detecting a lost display. Your resolution stays consistent. Your windows stay where you put them. The kvm switching happens smoothly without screen flicker or signal loss. This feature keeps your 4K or ultrawide display working at its best. It also supports high refresh rates, HDR, and deep color. EDID emulation removes re-detection delays. It improves compatibility with GPUs and docking stations. Look for this feature when you shop for your next kvm switch.
You now have a clear path forward. Count your computers and monitors first. Verify your video resolution and refresh rate needs. Assess every USB device you plan to connect. Choose active cables for longer runs. Plan for future growth with a scalable kvm.
This checklist prevents costly mistakes. A proper kvm switch matches your exact setup. Your monitor will display clean signals. Your peripherals will stay connected. Your workflow will remain smooth.
Take time to review each tip before purchasing. Measure your desk space. Check your video ports. List your USB devices. Confirm your cable lengths. Then select a reputable brand with EDID emulation.
You are ready to choose the perfect kvm switch. Apply these five tips and enjoy a streamlined workspace.

Written by Jack Elliott from AIChipLink.
AIChipLink, one of the fastest-growing global independent electronic components distributors in the world, offers millions of products from thousands of manufacturers, and many of our in-stock parts is available to ship same day.
We mainly source and distribute integrated circuit (IC) products of brands such as Broadcom, Microchip, Texas Instruments, Infineon, NXP, Analog Devices, Qualcomm, Intel, etc., which are widely used in communication & network, telecom, industrial control, new energy and automotive electronics.
Empowered by AI, Linked to the Future. Get started on AIChipLink and submit your RFQ online today!
Frequently Asked Questions
How do I know if my USB-C port supports video output?
Check for a DisplayPort logo or lightning bolt symbol near the port. These marks show DP Alt Mode or Thunderbolt support. If you don't see these symbols, your USB-C port probably only handles data and power. Check your device manual to be sure before buying a kvm switch.
Can I use adapters with my kvm switch?
Yes, but you must check the direction. DisplayPort to HDMI adapters only work one way. Mini DisplayPort connections often need active adapters to convert the signal correctly. Make sure your adapter matches your exact port combination. A wrong adapter causes signal loss or no display at all.
Why does my monitor flicker when I switch computers?
Your kvm switch probably does not have EDID emulation. This feature saves your monitor's display profile and gives it to each connected computer. Without it, your computer thinks the display is gone and resets the resolution. Pick a kvm with EDID emulation for smooth switches without screen flicker.
What cable length do I need for my kvm setup?
Measure the distance from your kvm switch to each monitor. For 4K at 120Hz, passive DisplayPort cables work well up to 3 meters. Longer distances need active cables with built-in signal boosters. Keep cables away from power sources to stop electromagnetic interference.
Can I charge my laptop through a kvm switch?
Some kvm switch models support USB Power Delivery for charging. Check the power profiles your device needs. A Steam Deck needs 45W fast charging, but many kvm units only support 15W or 60W modes. Check your device's charging needs against the kvm specs before buying.