JBR-001: A Desktop Companion Robot Powered by Arduino UNO Q
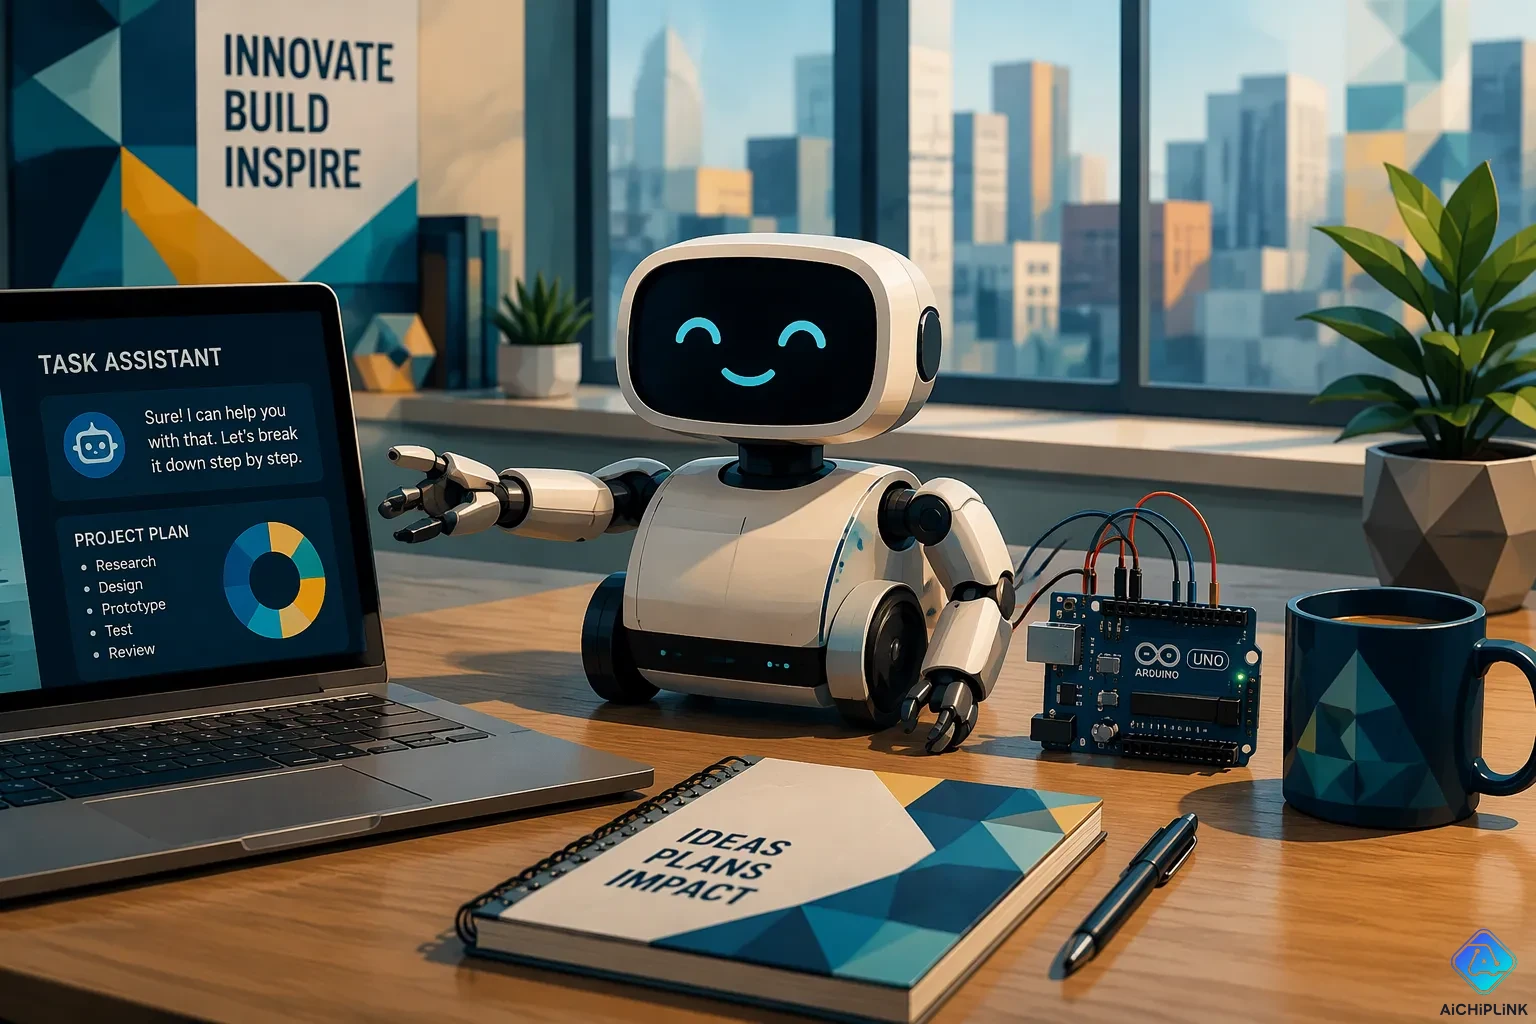
A desktop companion robot is a small, interactive machine that sits on a desk and responds to the people around it. The JBR-001 is a working example of this idea, built around the Arduino UNO Q board. This little robot reacts to nearby motion, shows its mood with lights, turns toward sounds, and links to a computer over a wireless connection. The JBR-001 shows how a desktop companion robot can sense its surroundings and respond in real time. Readers will learn what the JBR-001 offers, how its parts work together, and how to build one at home.
Key Takeaways
-
A desktop companion robot sits on your desk and reacts to you. It senses motion and sound and shows mood with lights.
-
The Arduino UNO Q board has two processors. One handles fast sensor tasks. The other manages Wi-Fi and logging.
-
The JBR-001 uses a distance sensor, microphone, LED ring, and servo. It turns its head toward sounds and changes color when you wave.
-
You can build the JBR-001 with standard parts and simple steps. The Arduino environment helps beginners start easily.
-
You can customize the robot by editing small parts of the code. Add new sensors or change behaviors without reflashing the whole board.
What Is a Desktop Companion Robot?
Defining the Category
A desktop companion robot is a small machine that sits on a desk and acts like a presence instead of a tool. It notices the people around it, reacts to them, and shows simple states through light, sound, or motion. This category falls between a toy and a smart device. A toy follows a fixed script. A smart speaker waits for a command. A companion robot does neither. It rests, watches, and responds on its own schedule, which makes the experience feel alive.
Three traits set this category apart from other small robots. First, the device stays in one place for long stretches. It takes up a small footprint and shares space with a monitor, a keyboard, and a coffee mug. Second, it senses all the time rather than only when asked. Distance sensors, microphones, and light sensors feed it a steady stream of information about the room. Third, it shares mood and attention through low-bandwidth channels. A color shift or a head turn carries meaning without a screen or a voice assistant.
Companionship here means background feedback, not conversation. The robot notices a hand waved in front of it. It turns toward a sound. It dims its lights when the room goes quiet. These small behaviors give the owner a sense of a shared environment. That shared environment is the main promise of a desktop companion robot, and it explains why builders care about responsiveness more than raw computing power.
Why the Arduino UNO Q Fits
The Arduino UNO Q suits this role because it splits work between two processors on one board. One side handles real-time tasks: reading sensors, driving LEDs, and moving a servo. The other side runs a full operating system and manages networking, logging, and higher-level logic. A companion robot needs both kinds of work. Sensor polling demands timing the robot can trust. Connectivity and data handling demand flexibility. A single-chip design forces a compromise between the two. The UNO Q removes that compromise.
The board also brings wireless connectivity as a built-in feature. The robot can report status to a laptop, receive new behavior settings, or sync with other devices without extra hardware. For a desk robot, this matters. Owners want to tweak behavior without unplugging and reflashing the board every time.
Physical integration favors the UNO Q as well. The board follows the familiar UNO form factor, so standard shields and jumper wires connect without adapters. A builder can stack a motor driver or a sensor shield directly on top. The board's input and output pins handle servos, distance sensors, and LED strips with room to spare. Software support rounds out the fit. The Arduino environment offers a gentle learning curve for beginners, and the Linux side opens the door to Python and network services for advanced users. A builder can start with a blinking light and grow the project into a networked device without changing hardware. That growth path keeps the barrier to entry low and the ceiling high.
Meet the JBR-001
Design and Form Factor
The JBR-001 takes the shape of a small, upright figure that rests on a rounded base. Its body rises roughly to the height of a coffee mug, so it sits comfortably beside a monitor without crowding the workspace. The base holds the Arduino UNO Q board and a small battery pack. A short neck carries the head, which houses the sensors and the light ring. The whole unit occupies a patch of desk no larger than a coaster, and a builder can lift it with one hand.
The design keeps the electronics visible on purpose. Jumper wires and a stacked shield show how the robot works, which helps a learner trace each signal. A translucent shell over the light ring softens the glow and hides the LED strip beneath. Rubber feet under the base stop the robot from sliding when the servo turns the head.
Key Features
The JBR-001 senses the world through a distance sensor mounted in the head and a small microphone on the body. The distance sensor watches for a hand passing in front of the robot. The microphone picks up nearby sounds and tells the robot which direction to face. An LED ring around the head changes color to signal mood, and a tiny speaker plays short chirps when the robot greets someone.
Movement comes from a single servo that turns the head left and right. This limited motion keeps the build simple and the cost low. The robot connects to a laptop over Wi-Fi through the UNO Q's built-in wireless link. That connection lets the owner change colors, adjust sensitivity, or log sensor readings without touching the hardware. Together, these features give the JBR-001 the responsive, always-aware feel of a true desktop companion robot, and they show how a desktop companion robot can stay simple yet engaging.
How the JBR-001 Works
Hardware Architecture
The JBR-001 divides its electronics into three layers. The base holds the Arduino UNO Q board and the battery pack. A shield stacked on the board carries the motor driver for the head servo. The head holds the distance sensor, the LED ring, and the small speaker. Jumper wires run up the neck and connect the head parts to the board below.
The UNO Q splits the work between its two processors. The real-time side reads the distance sensor and the microphone many times per second. It also drives the LED ring and sends position commands to the servo. The Linux side handles the Wi-Fi link to the laptop, keeps a log of sensor readings, and passes new settings down to the real-time side. This split keeps the head turning smoothly even while the robot talks to the network.
Software and Code Structure
The code follows the same split. A sketch on the real-time processor runs a simple loop: read the distance sensor, read the microphone, update the lights, and move the servo. Each behavior lives in its own small function, so a builder can change the greeting chirp without touching the motion logic.
The Linux side runs a short Python program. It opens a Wi-Fi connection, listens for commands from the laptop, and forwards them to the sketch. It also writes sensor readings to a log file for later review. A builder who wants to add a light sensor or a second servo adds one function to the sketch and one line to the Python program. The two halves stay independent, which makes testing easy.
Building Your JBR-001
Materials and Assembly
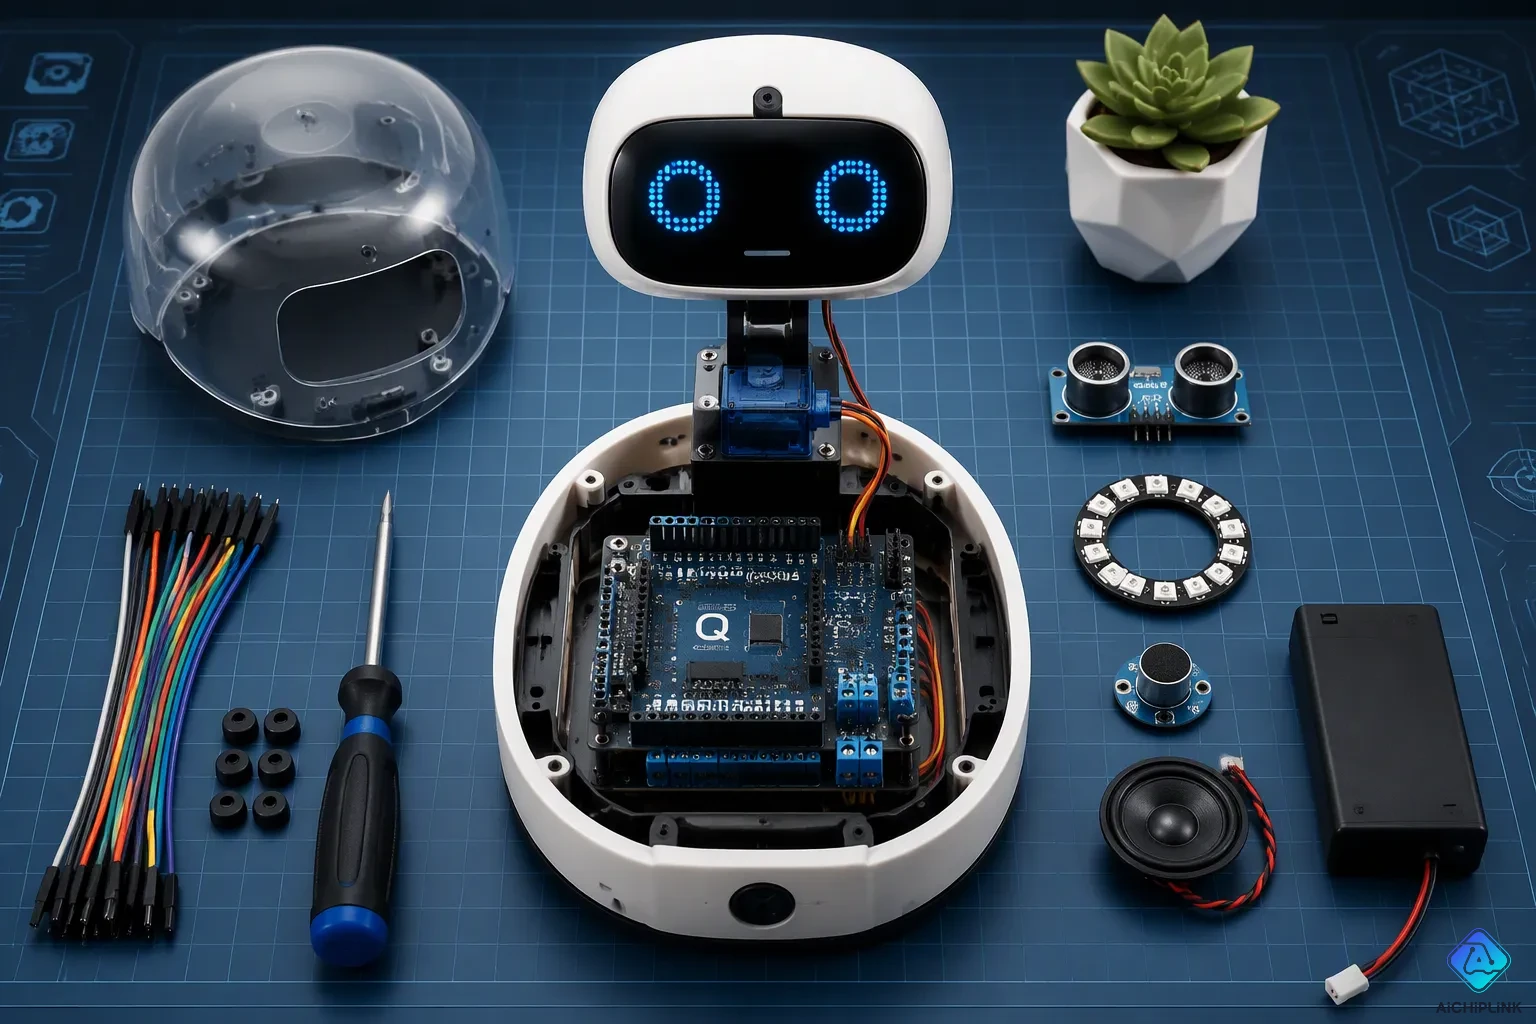
The build needs a small set of parts. The centerpiece is the Arduino UNO Q board. A motor driver shield stacks on top of it and powers the head servo. One micro servo turns the head. A distance sensor and a small microphone sit in the head, and an LED ring wraps around it. A tiny speaker handles the chirps. A battery pack, a set of jumper wires, a translucent shell, and rubber feet complete the list. Basic tools cover the rest: a screwdriver, wire cutters, and a computer for flashing code.
Assembly follows a fixed order, and each step builds on the one before it.
-
Mount the UNO Q board and the battery pack inside the rounded base.
-
Stack the motor driver shield onto the board and press it down firmly.
-
Attach the rubber feet under the base so the robot stays put.
-
Fit the servo into the neck mount and connect it to the shield.
-
Wire the distance sensor, microphone, LED ring, and speaker to the board, then run the jumper wires up the neck.
-
Snap the head onto the servo horn and slide the translucent shell over the light ring.
A builder should test each connection before closing the shell. A quick power-up confirms the lights glow and the head turns. This check saves time later, because a loose wire is much easier to spot with the shell off.
Flashing and Customizing Code
Flashing the code takes two passes. The builder first loads the sketch onto the real-time processor through the Arduino environment. That sketch holds the sensor loop, the light logic, and the servo commands. The second pass loads the Python program onto the Linux side. That program opens the Wi-Fi link and forwards commands from the laptop.
Customization happens in small, separate places. A builder who wants a new greeting edits the chirp function in the sketch. A builder who wants softer motion changes the servo step size in the same file. New hardware follows the same pattern. Adding a light sensor means one new function in the sketch and one line in the Python program. The two halves stay independent, so a change on one side rarely breaks the other.
The Wi-Fi link opens a further path. An owner can adjust colors and sensitivity from the laptop without reflashing the board. That flexibility keeps the JBR-001 easy to tune as the owner learns what behaviors feel right on a real desk.
Applications and Use Cases
Desk Companion and Learning Tool
The JBR-001 earns its place on a desk by doing small things well. It turns its head toward a sound. It glows a warmer color when a hand passes near. A student who studies for long stretches gets a steady, quiet presence that reacts without demanding attention. The robot never interrupts with notifications or requests. That restraint makes it a pleasant neighbor to a monitor and a keyboard.
The same build doubles as a learning tool. Each part teaches one idea. The distance sensor shows how a machine measures the world. The servo shows how code becomes motion. The LED ring shows how a few lines of logic turn into visible mood. A learner can trace a single signal from sensor to sketch to light, and that trace builds real understanding. Teachers can use the robot to introduce sensing, timing, and wireless control in one project.
Prototyping as a Desktop Companion Robot
The JBR-001 also works as a test bed for bigger ideas. A builder can swap the distance sensor for a different part and watch how the behavior changes. A new greeting, a softer head turn, or a second light zone each takes a small edit. The dual-processor design keeps these experiments safe. The real-time side keeps running while the Linux side tries new network features.
This flexibility makes the build a practical starting point. A maker who wants to explore a desktop companion robot can begin with the JBR-001 and grow it step by step. The board's standard form factor accepts new shields without rewiring. The Wi-Fi link allows tuning from a laptop. Each change stays small and testable, so the project never becomes too complex to finish.
The JBR-001 is a small desktop companion robot that senses motion, shows mood through light, and turns toward sound. Pairing it with the Arduino UNO Q gives builders two processors on one board. One side handles fast sensor work. The other side manages Wi-Fi and logging. That split keeps behavior smooth and the build simple.
The barrier to entry stays low. Standard shields stack without adapters, and the Arduino environment welcomes beginners. Customization stays flexible too. A new greeting or a second sensor takes one small edit, and the Wi-Fi link allows tuning from a laptop.
Gather the parts, follow the assembly steps, and flash the code. A responsive desk companion can take shape in an afternoon.

Written by Jack Elliott from AIChipLink.
AIChipLink, one of the fastest-growing global independent electronic components distributors in the world, offers millions of products from thousands of manufacturers, and many of our in-stock parts is available to ship same day.
We mainly source and distribute integrated circuit (IC) products of brands such as Broadcom, Microchip, Texas Instruments, Infineon, NXP, Analog Devices, Qualcomm, Intel, etc., which are widely used in communication & network, telecom, industrial control, new energy and automotive electronics.
Empowered by AI, Linked to the Future. Get started on AIChipLink and submit your RFQ online today!
Frequently Asked Questions
Does the JBR-001 need prior robotics experience?
No. The build uses standard shields and jumper wires, and the Arduino environment welcomes beginners. A new builder can start with a blinking light and add behaviors one at a time. The article's assembly steps keep each connection simple to test.
Which processor runs the robot's behaviors?
The real-time processor runs the main loop. It reads the distance sensor and microphone, updates the LED ring, and moves the servo. The Linux side handles Wi-Fi and logging. This split keeps the head turning smoothly during network activity.
Can a builder add more sensors later?
Yes. Adding a part takes one new function in the sketch and one line in the Python program. The two halves stay independent, so a change on one side rarely breaks the other. Standard shields stack without adapters.
How does the robot connect to a laptop?
The UNO Q carries a built-in wireless link. The Python program opens a Wi-Fi connection and listens for commands. An owner can then adjust colors and sensitivity from the laptop without reflashing the board.
What keeps the head motion simple?
One micro servo turns the head left and right. This limited motion keeps the build simple and the cost low. A builder who wants softer movement changes the servo step size in the sketch.